Step 0 1
Open Sketch Up.
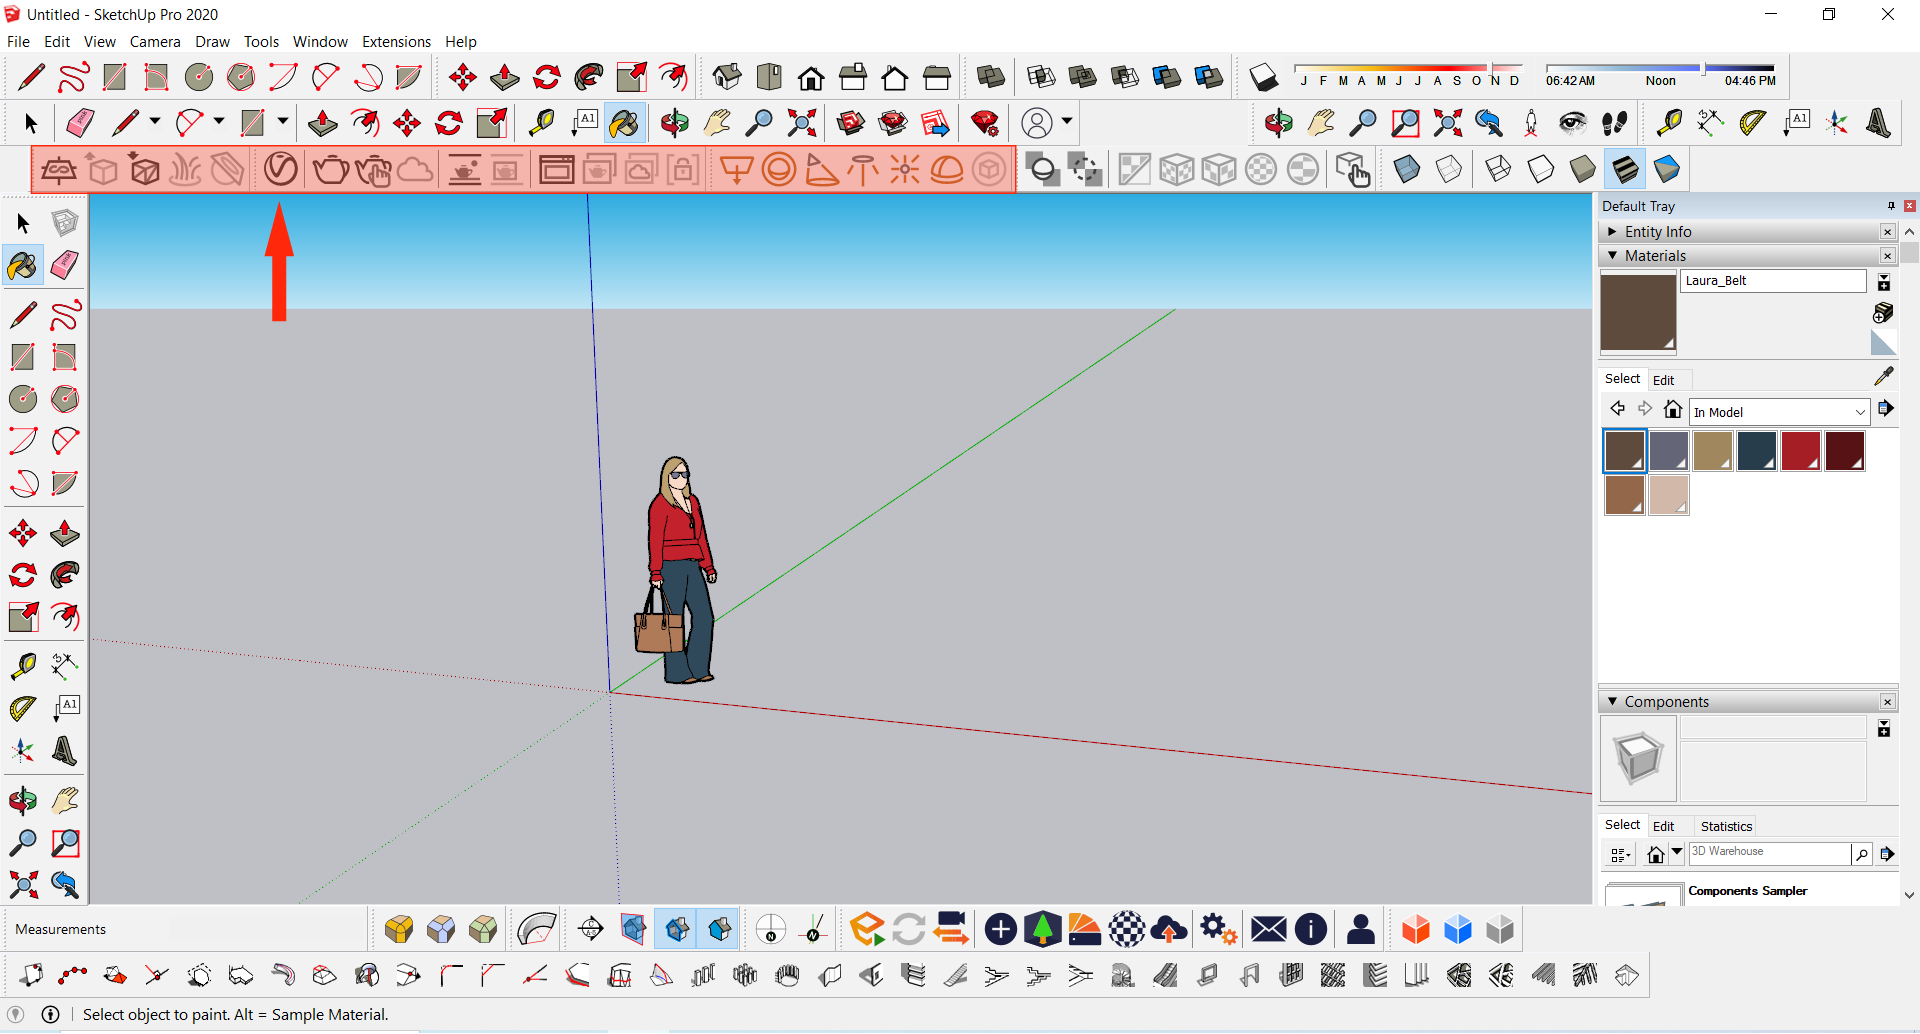
Step 0 2
With the Vray for SketchUp installed, you can see the Vray Tools Palette in the interface, as highlighted here.
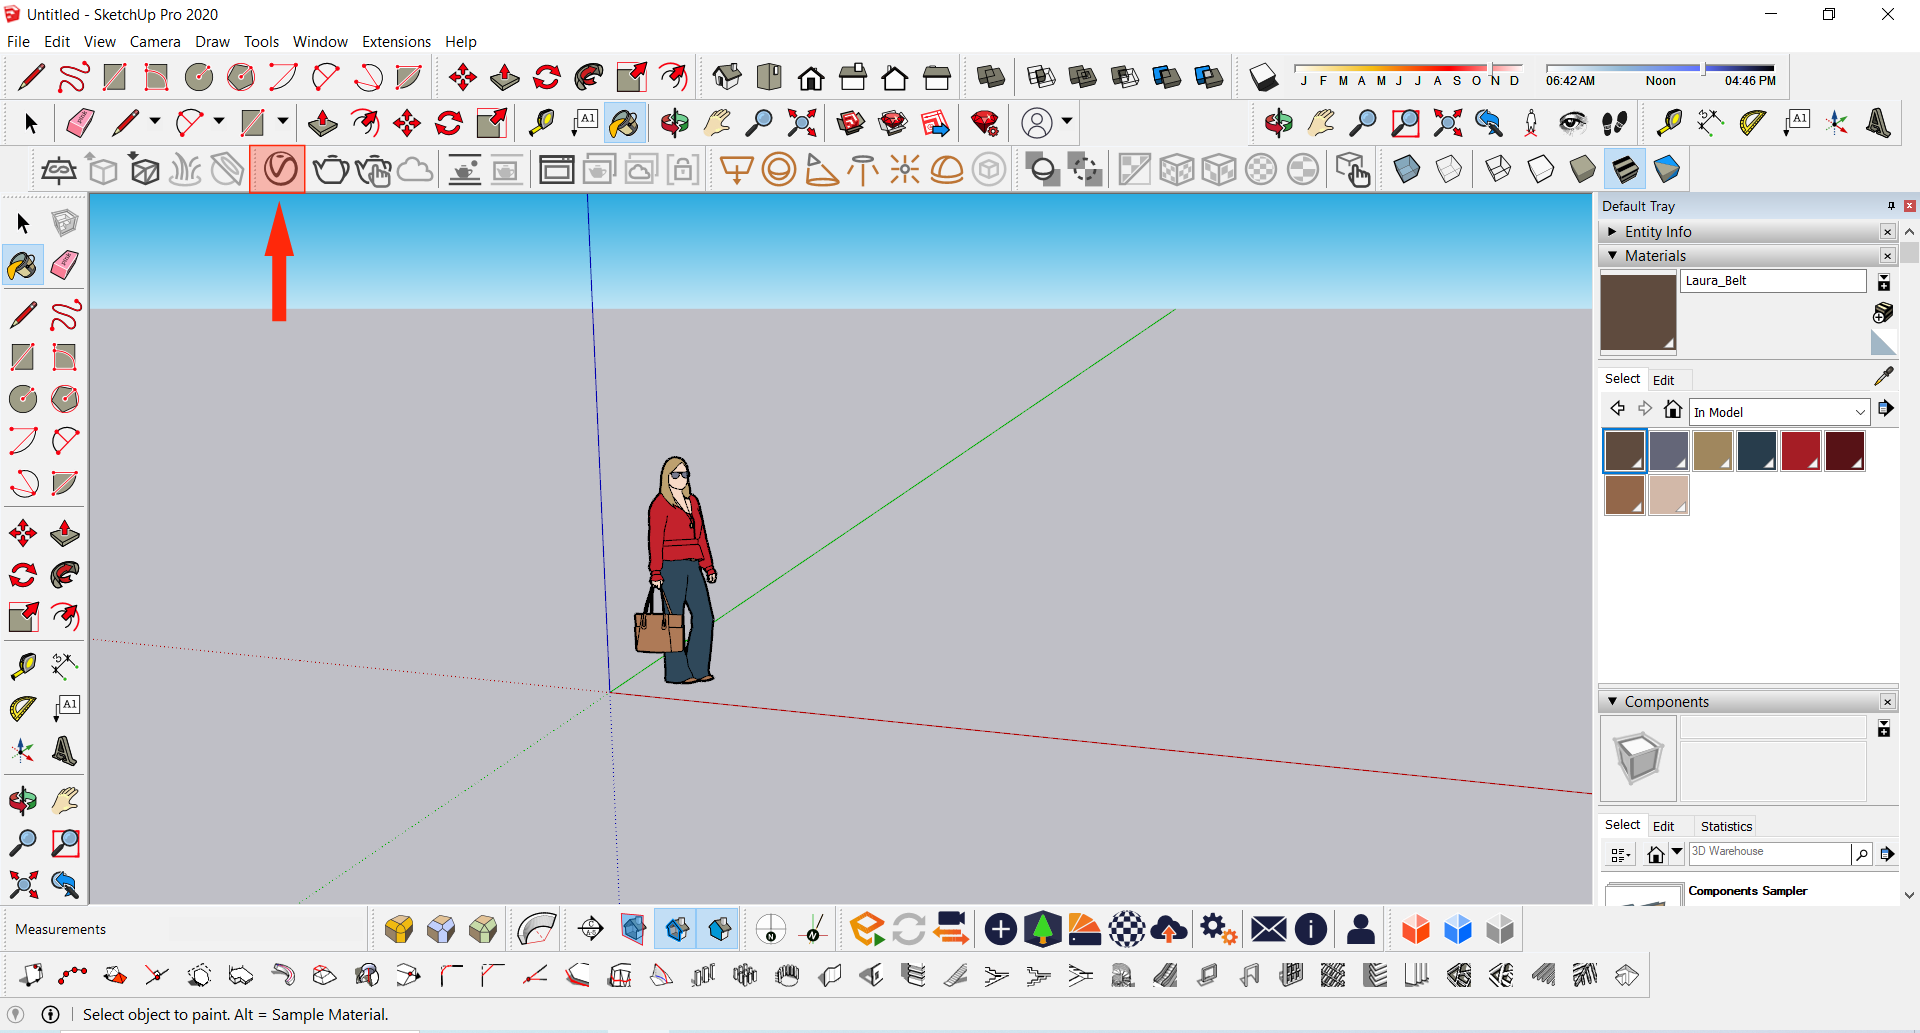
Step 0 3
Left click on the Vray-Asset Editor icon. This will open the Asset Editor Window.
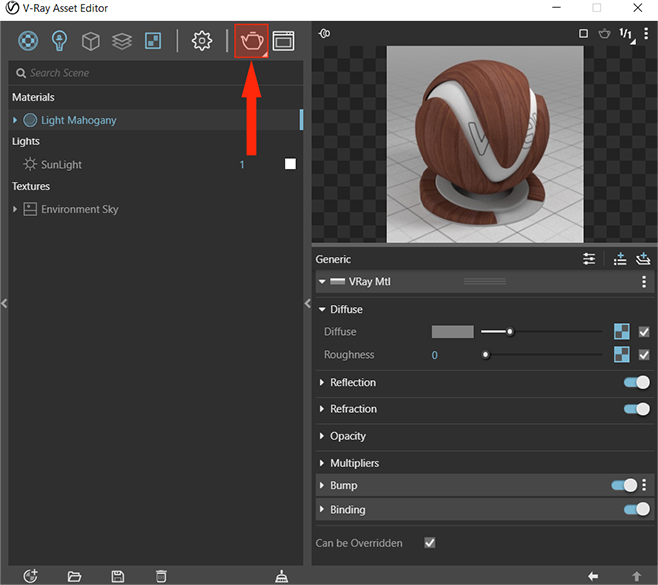
Step 0 4
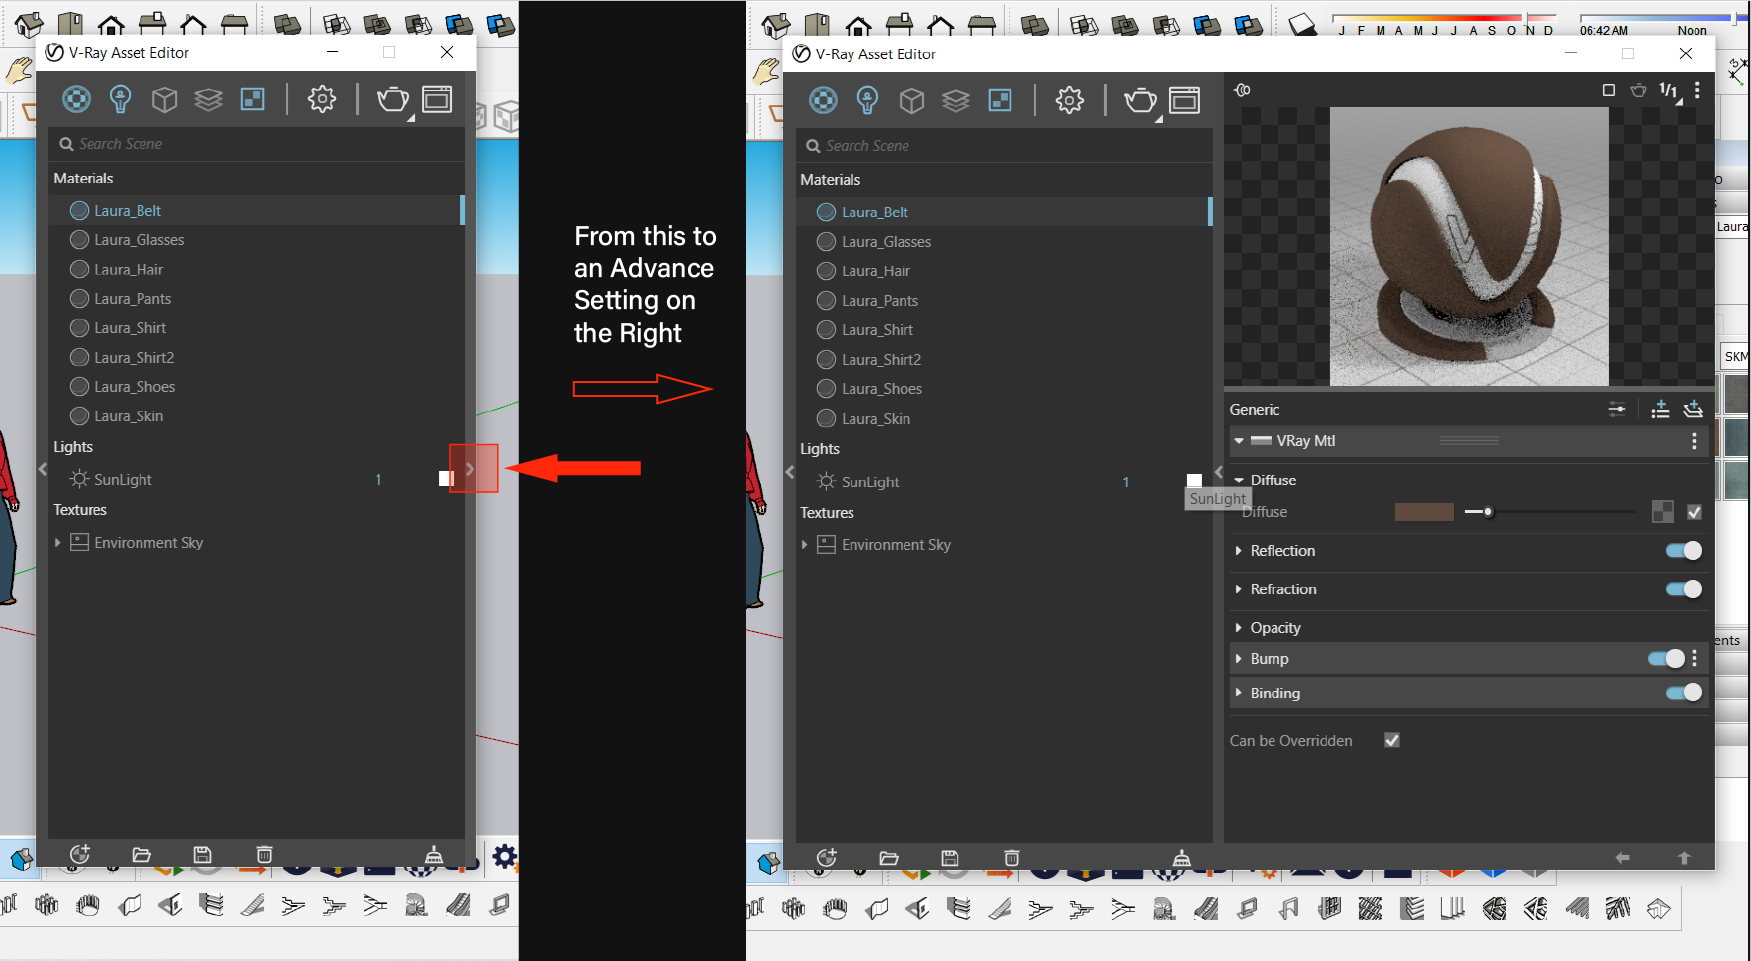
V-ray Asset Editor Window like this will appear. To expand to Individual and Advance Material Setting click on the Expand Arrow on the Centre-Right of the Window.
Step 0 5
Two tabs to add new Material. Add generic material as shown here.
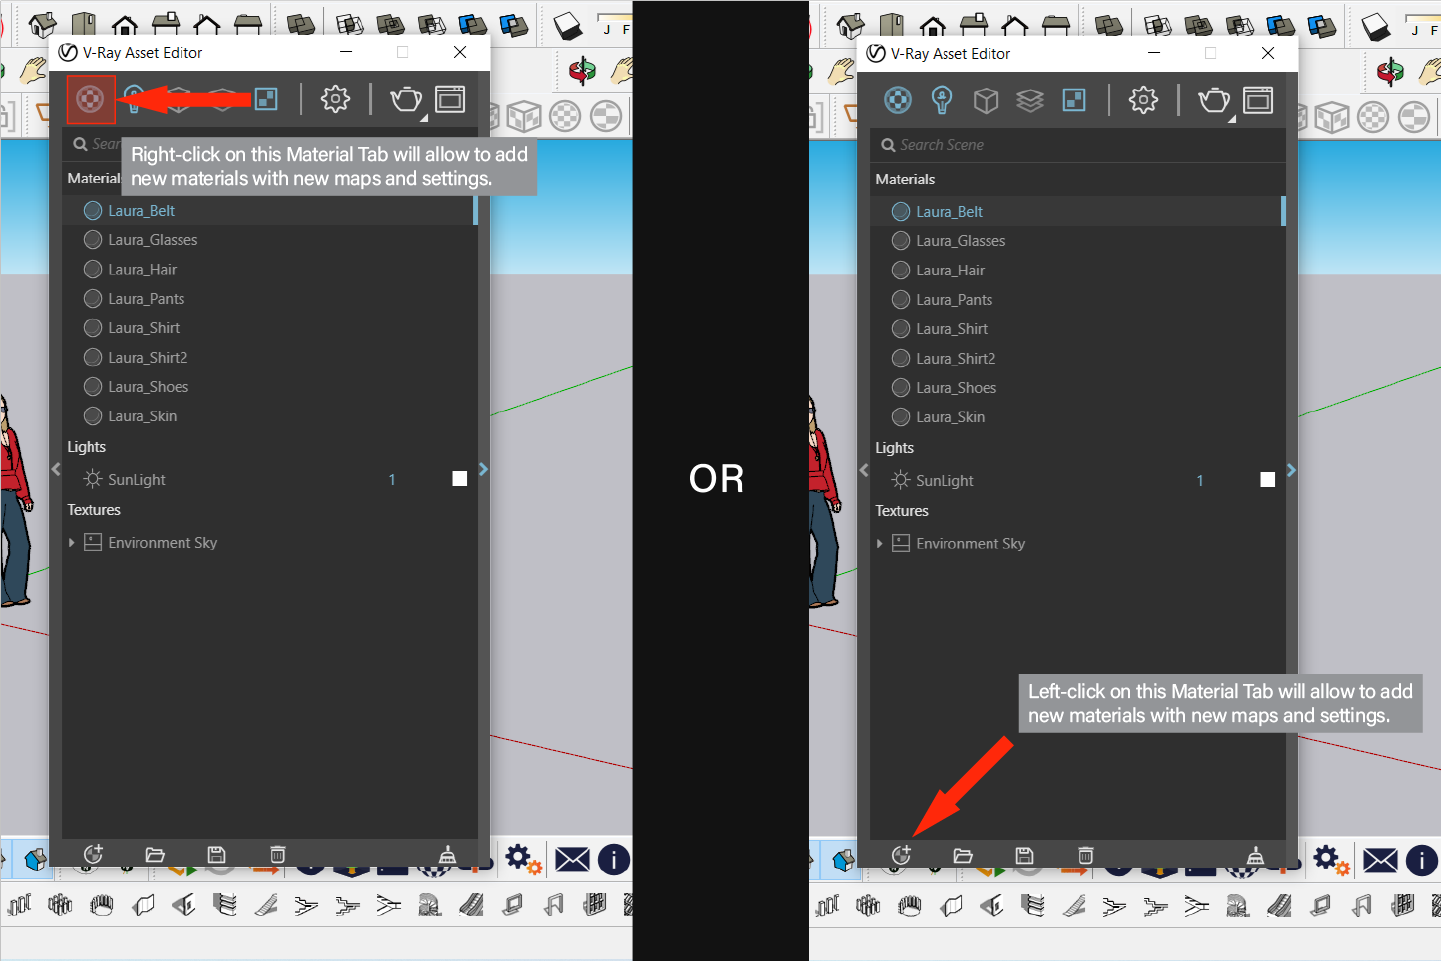
Step 0 6
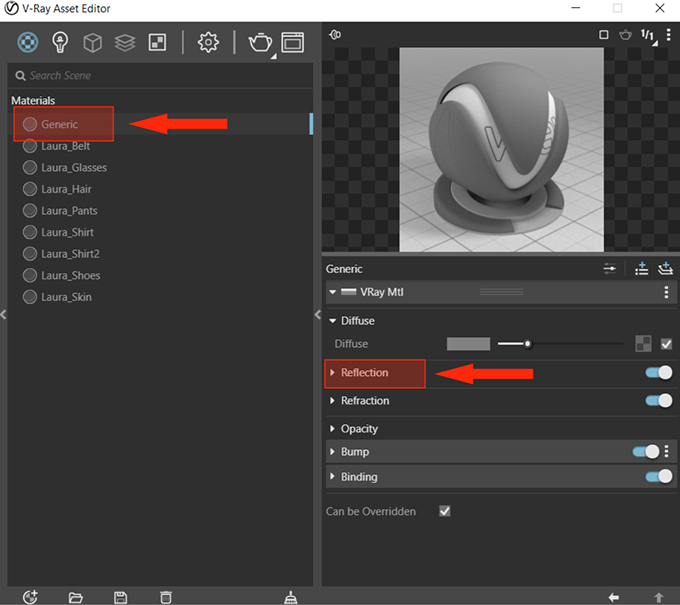
Create a Generic Material – it gives basic settings and a generic material which can be edited. (Right Click on Generic and you can Rename the Material).
By clicking each setting title you can activate the Advance Settings mode, giving you access to a larger number of settings for Bitmap texture.
Step 0 7
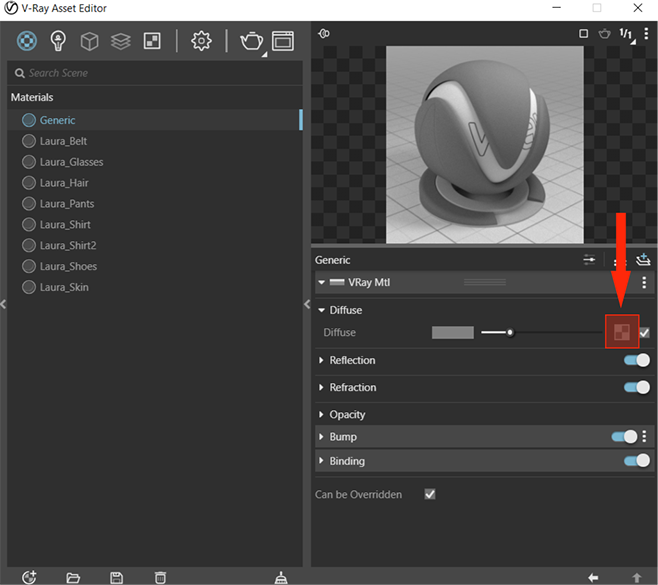
In the Diffuse setting, to upload a Map/texture/image left-click on this Texture/Map icon.
On left click – a drop-down menu will appear select Bitmap from it.
Step 0 8
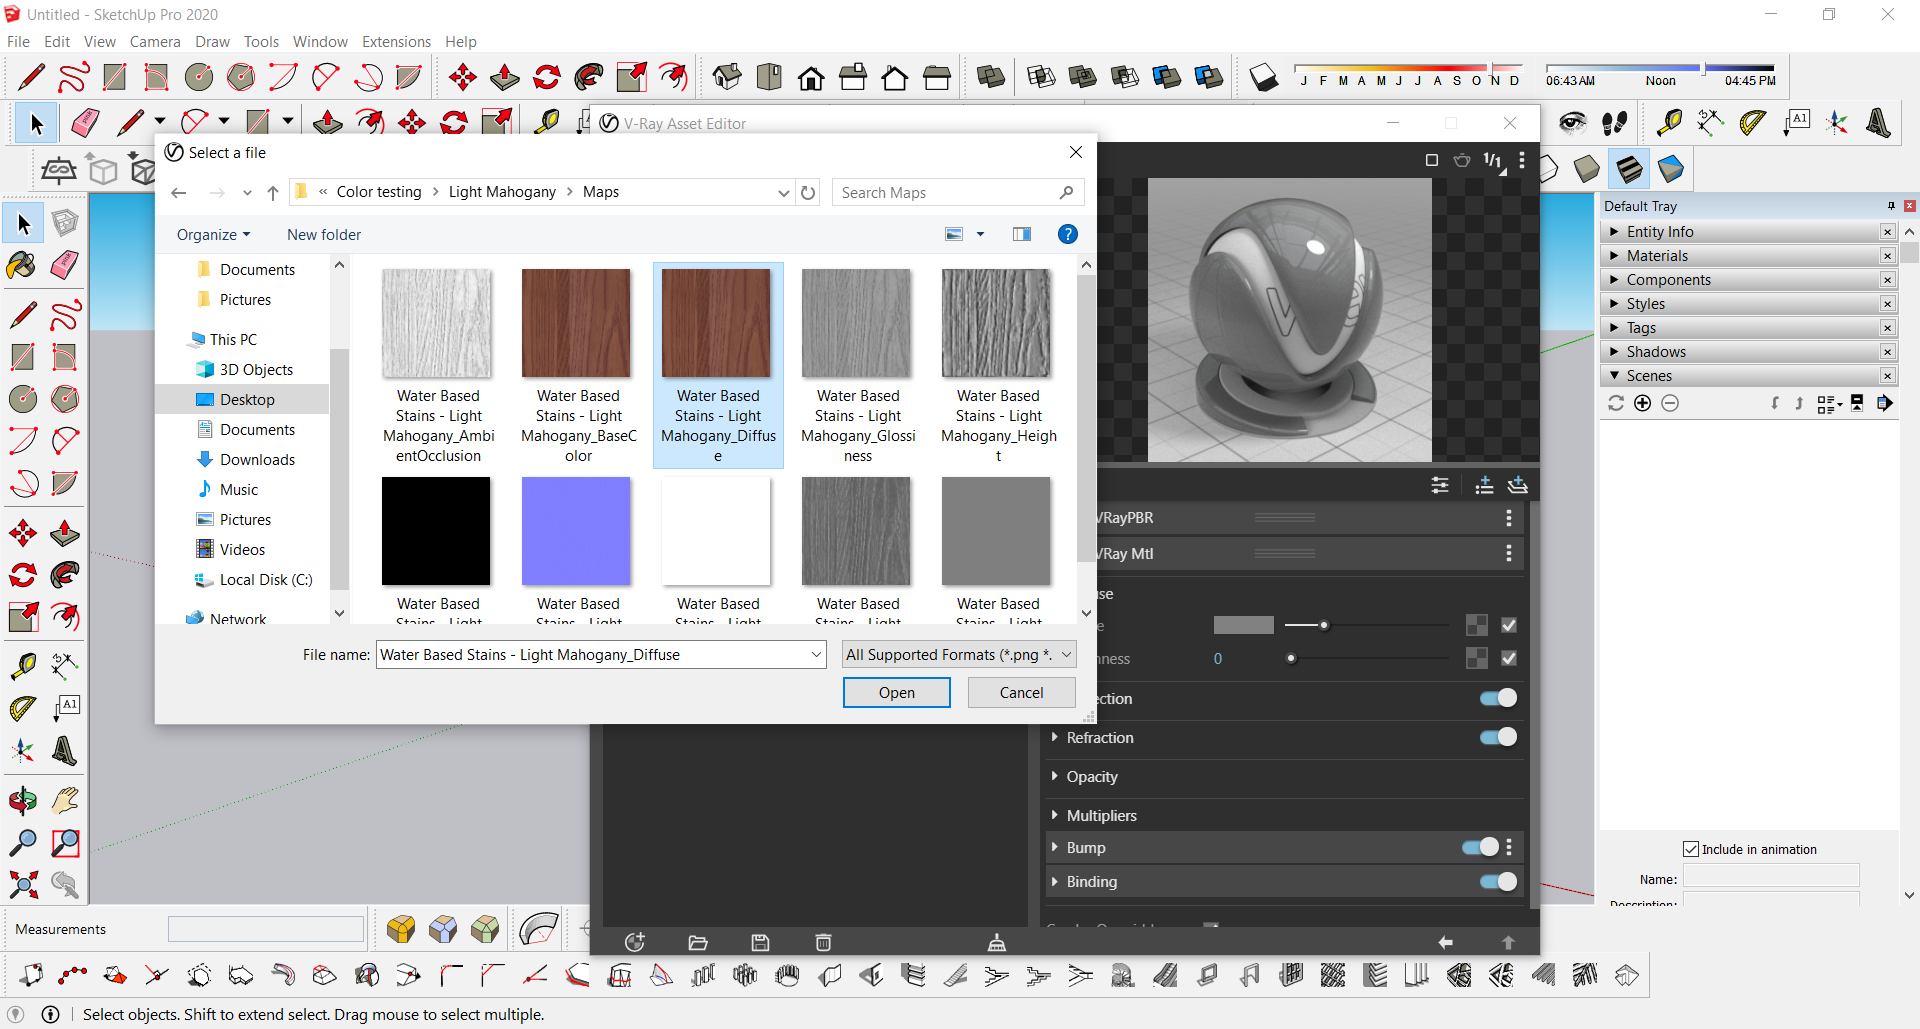
In the pop-up window, select the location where the Texture Maps are stored.
As we are selecting for the “Diffuse” setting – select the “Texture name_Diffuse” map.
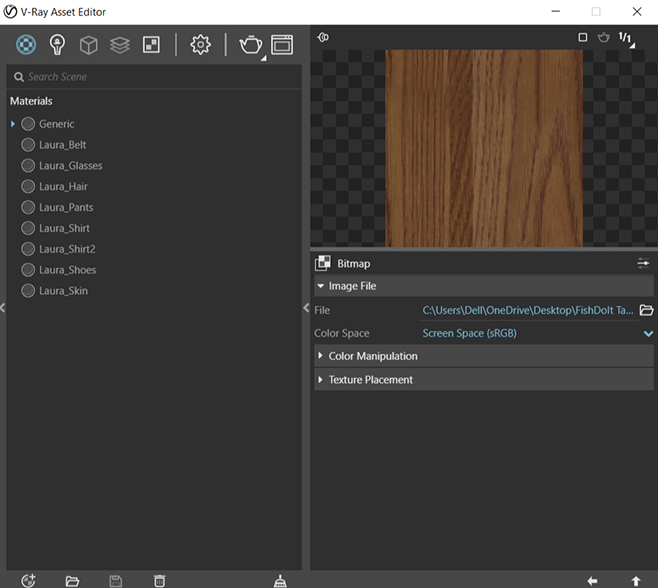
Step 0 9
The Map will appear.
Now the Diffuse Map is set we can add the other Maps, similarly to the Roughness Slot, Bump Slot, Metal ness, Reflection, Opacity, Displacement, etc.
Step 10
Once all maps are imported, hit render.